

SSH Keys, Ports & nginx as a Reverse Proxy
Linux for Everyday Use | Part 6 of the Linux → Deploy Series
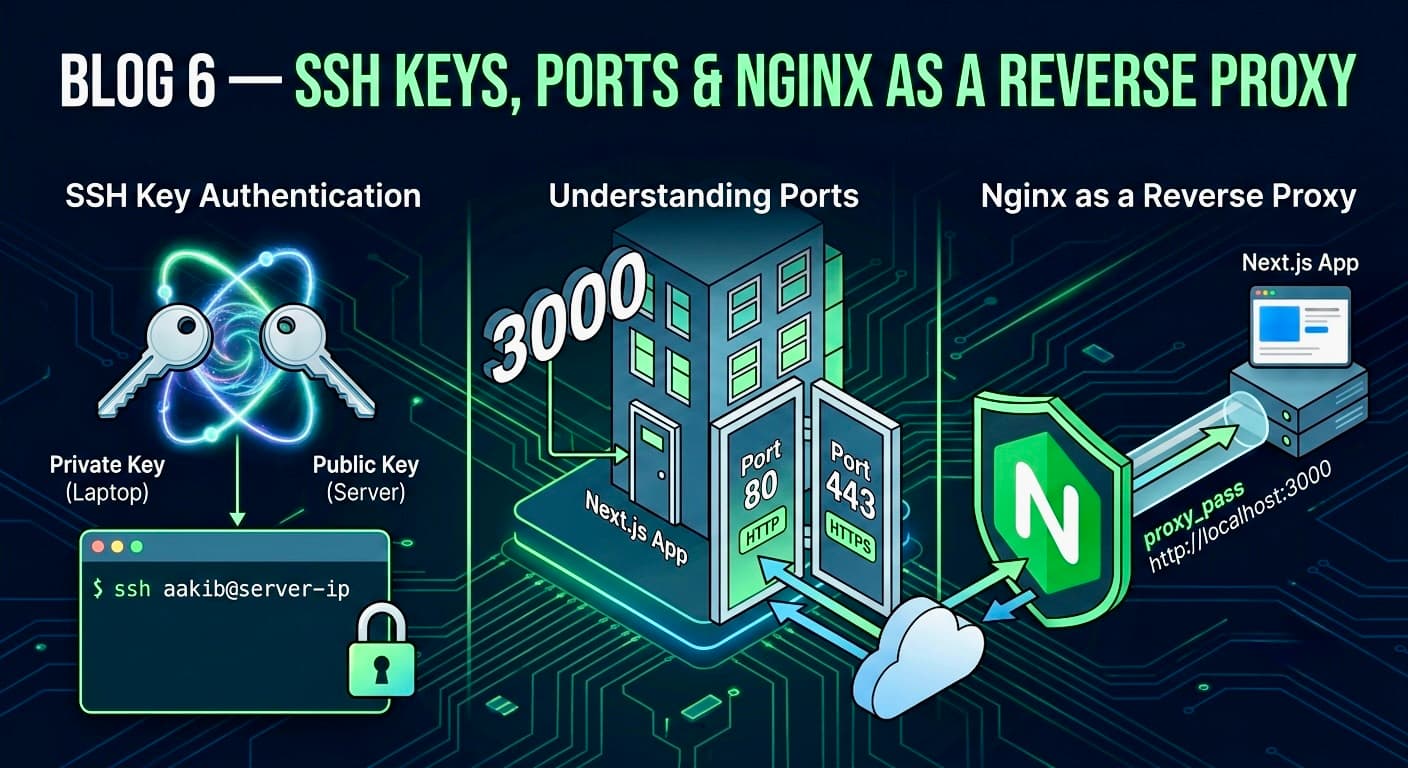
Your Next.js app runs on port 3000. The internet expects websites to be on port 80 (HTTP) or 443 (HTTPS). These are not the same port.
This blog closes that gap. You'll understand how ports work, connect to your server the right way using SSH keys, and set up nginx to route traffic from the world into your app.
SSH Keys — Stop Typing Passwords
In Blog 4 (the series intro to SSH), you connected to a server with a username and password. That works, but it's slow and insecure. SSH keys are how professionals do it.
How SSH keys work
You generate a key pair: a private key (stays on your laptop, never shared) and a public key (placed on the server). When you connect, the server checks if you have the matching private key. No password needed.
Generate a key pair
On your local machine (not the server):
ssh-keygen -t ed25519 -C "aakib@laptop"
It asks where to save the key. The default (~/.ssh/id_ed25519) is fine. It also asks for a passphrase — you can set one for extra security, or press Enter to skip.
This creates two files:
~/.ssh/id_ed25519— your private key. Never share this.~/.ssh/id_ed25519.pub— your public key. This is what you put on servers.
Copy your public key to the server
ssh-copy-id aakib@your-server-ip
This command connects to your server (you'll need the password one last time) and appends your public key to ~/.ssh/authorized_keys on the server.
After this, connecting is just:
ssh aakib@your-server-ip
No password. Instant.
If ssh-copy-id isn't available
Do it manually:
# Print your public key
cat ~/.ssh/id_ed25519.pub

# On the server, paste it in:
mkdir -p ~/.ssh
nano ~/.ssh/authorized_keys
# Paste the key, save with Ctrl+O, exit with Ctrl+X

chmod 700 ~/.ssh
chmod 600 ~/.ssh/authorized_keys
The chmod values matter here — SSH is strict about file permissions and will refuse to use keys if the permissions are too open.
Copying Files to/from the Server with scp
scp (secure copy) works exactly like cp but over SSH.
# Copy a file from your laptop to the server
scp ./myfile.txt aakib@server-ip:~/

# Copy a file from the server to your laptop
scp aakib@server-ip:~/logs/app.log ./

# Copy a directory recursively
scp -r ./my-nextjs-app aakib@server-ip:~/
Next.js use case: If you need to manually upload your .env.production file to the server (never commit it to Git), scp is how you do it.
scp .env.production aakib@server-ip:~/my-nextjs-app/
Understanding Ports
A port is a number from 0–65535 that identifies a specific service or application on a machine. Think of an IP address as a building address and a port as an apartment number — both are needed to find the right destination.
Ports you'll encounter constantly
| Port | Protocol | Used for |
|---|---|---|
| 22 | SSH | Remote terminal access |
| 80 | HTTP | Unencrypted web traffic |
| 443 | HTTPS | Encrypted web traffic |
| 3000 | — | Next.js dev/start default |
| 5432 | — | PostgreSQL default |
| 27017 | — | MongoDB default |
When you run npm run dev or npm start, Next.js listens on port 3000. That's fine locally. But on a server, nobody wants to type http://yoursite.com:3000. They just want http://yoursite.com — which is port 80.
You can't run Next.js directly on port 80 either (it requires root, which is dangerous). Instead, nginx sits in front: it listens on port 80 and forwards requests to port 3000. This is called a reverse proxy.
What Is nginx?
nginx (pronounced "engine-x") is a high-performance web server that does several things well:
Serve static files extremely fast
Act as a reverse proxy (forwards requests to your app)
Handle SSL/TLS termination (HTTPS)
Load balance across multiple app instances
For your purposes: nginx is the gatekeeper. The internet hits nginx on port 80/443. nginx passes the request to your Next.js app on port 3000. Your app responds, nginx sends it back.
Installing nginx
sudo apt update
sudo apt install nginx
Verify it's running:
sudo systemctl status nginx
Visit your server's IP in a browser: http://your-server-ip — you should see the nginx welcome page. nginx is already listening on port 80.
Configuring nginx as a Reverse Proxy for Next.js
nginx config files live in /etc/nginx/. The main file is /etc/nginx/nginx.conf, but you should put your site configs in /etc/nginx/sites-available/ and enable them.
Create a config for your site
sudo nano /etc/nginx/sites-available/my-nextjs-app
Paste this:
server {
    listen 80;
    server_name your-domain.com www.your-domain.com;

    location / {
        proxy_pass http://localhost:3000;
        proxy_http_version 1.1;
        proxy_set_header Upgrade $http_upgrade;
        proxy_set_header Connection 'upgrade';
        proxy_set_header Host $host;
        proxy_set_header X-Real-IP $remote_addr;
        proxy_set_header X-Forwarded-For $proxy_add_x_forwarded_for;
        proxy_set_header X-Forwarded-Proto $scheme;
        proxy_cache_bypass $http_upgrade;
    }
}
What each part does:
listen 80— nginx handles port 80server_name— which domain(s) this block handlesproxy_pass http://localhost:3000— forward all requests to your Next.js appThe
proxy_set_headerlines pass along real client info (IP, protocol) to your app — Next.js needs these for things likereq.headersThe
Upgrade/Connectionheaders support WebSockets and Next.js hot reloading
Enable the config
# Symlink from sites-available to sites-enabled
sudo ln -s /etc/nginx/sites-available/my-nextjs-app /etc/nginx/sites-enabled/

# Remove the default site (optional but cleaner)
sudo rm /etc/nginx/sites-enabled/default

# Test the config for syntax errors
sudo nginx -t
Always run nginx -t before reloading. A syntax error in the config will prevent nginx from starting.
# Apply the config
sudo systemctl reload nginx
Testing the Proxy
Start your Next.js app on port 3000 (temporarily with nohup, properly with PM2 in Blog 7):
nohup npm start &
Now visit http://your-server-ip in a browser. You should see your Next.js app — served through nginx on port 80, proxied to port 3000.
curl and wget — Testing from the Terminal
You don't always have a browser available. curl and wget let you make HTTP requests from the terminal.
curl — Transfer data from URLs
# Basic GET request
curl http://localhost:3000

# See response headers
curl -I http://localhost:3000

# Follow redirects
curl -L http://your-domain.com

# POST request with JSON body
curl -X POST http://localhost:3000/api/data \
  -H "Content-Type: application/json" \
  -d '{"name": "aakib"}'
Next.js use case: When debugging whether your API routes work on the server, curl is faster than switching to a browser.
curl -I http://localhost:3000/api/health
# HTTP/1.1 200 OK
wget — Download files
# Download a file
wget https://example.com/somefile.zip

# Download and save with a specific name
wget -O output.zip https://example.com/somefile.zip
wget is what you'll use to download Node.js install scripts, binary releases, or config files directly onto your server.
Checking Open Ports with ss
Want to see what's actually listening on your server?
ss -tlnp
-t— TCP only-l— listening sockets only-n— numeric (don't resolve hostnames)-p— show the process using the socket
State    Recv-Q  Send-Q  Local Address:Port   Process
LISTEN   0       128     0.0.0.0:80            nginx
LISTEN   0       128     0.0.0.0:22            sshd
LISTEN   0       128     127.0.0.1:3000        node
This confirms: nginx is on 80 (public), SSH is on 22 (public), and Next.js is on 3000 (localhost only — good, that means it's not directly exposed).
Quick Reference
| Command | What it does |
|---|---|
ssh-keygen -t ed25519 |
Generate SSH key pair |
ssh-copy-id user@host |
Push public key to server |
ssh user@host |
Connect to server |
scp file user@host:~/ |
Copy file to server |
scp user@host:~/file . |
Copy file from server |
sudo apt install nginx |
Install nginx |
sudo nginx -t |
Test nginx config syntax |
sudo systemctl reload nginx |
Apply nginx config changes |
curl http://localhost:3000 |
Test HTTP from terminal |
curl -I <url> |
Show response headers only |
ss -tlnp |
Show listening ports + processes |
What's Next
nginx is running. SSH keys are configured. You understand ports. The infrastructure is ready.
In Blog 7, you put it all together: clone your actual Next.js repo, install Node.js properly on the server, set environment variables, use PM2 to keep your app alive across reboots, and add free HTTPS with Certbot. That's a production-ready deployment.